Be yourself; Everyone else is already taken.
— Oscar Wilde.
This is the first post on my new blog. I’m just getting this new blog going, so stay tuned for more. Subscribe below to get notified when I post new updates.
Be yourself; Everyone else is already taken.
— Oscar Wilde.
This is the first post on my new blog. I’m just getting this new blog going, so stay tuned for more. Subscribe below to get notified when I post new updates.
I first started baking bread around two years ago, I enjoyed having a go at baking any type of loaf. However, I was always a tad hesitant when it came to sourdough, i saw the dedication it took and the added complexities of effectively creating and utilising your own rising agent.
So when i first had a go at it about a year ago, i was overwhelmed by how well it had worked and how straightforward it was (i made my own starter from scratch over a 5 day period and baked on the final day).
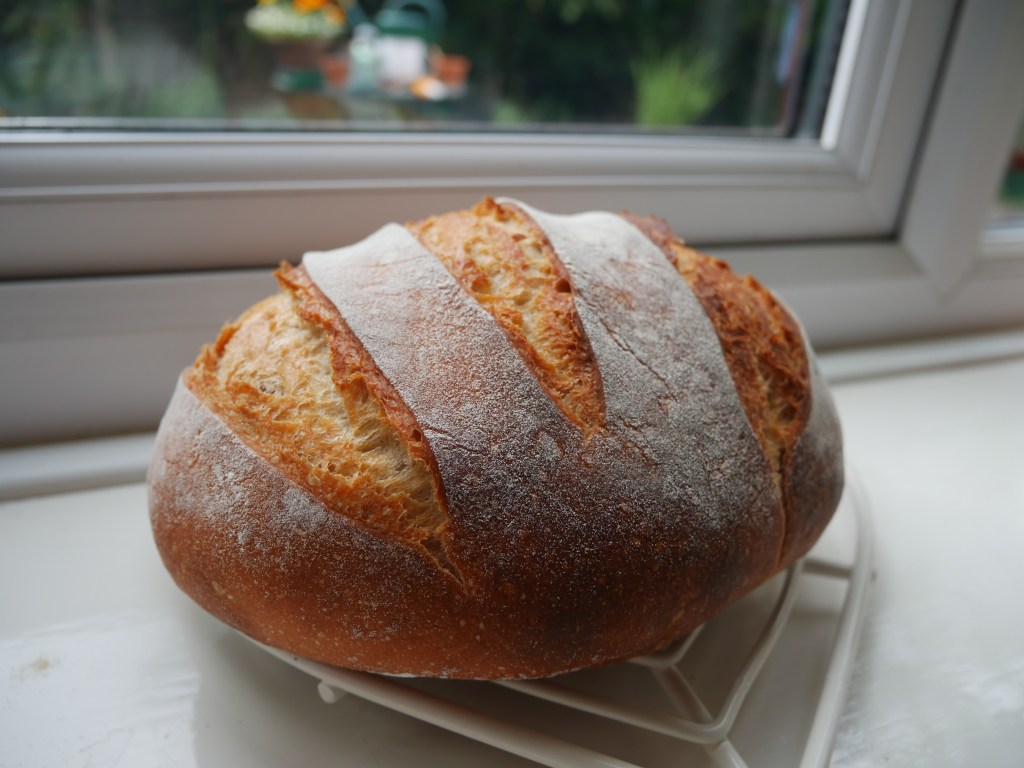
Although, as good as it tasted, there was something niggling at the back of my mind, “Is this….it?”, I had made a beautiful loaf that had taken the best part of a week to make. It tasted great, but….was this all it was?
I started to experiment, maybe i needed to use different flours, recipes, baking methods, etc. Everyone on the internet would rave about how great this creation was. But up to now, it didn’t seem worth the extra effort.
The problem with experimenting with sourdough is that it takes so much time. It took months and eventually sucked the fun out of my bread making. Over time, I would rarely make bread, and when i did it wasn’t as fun as it used to be.
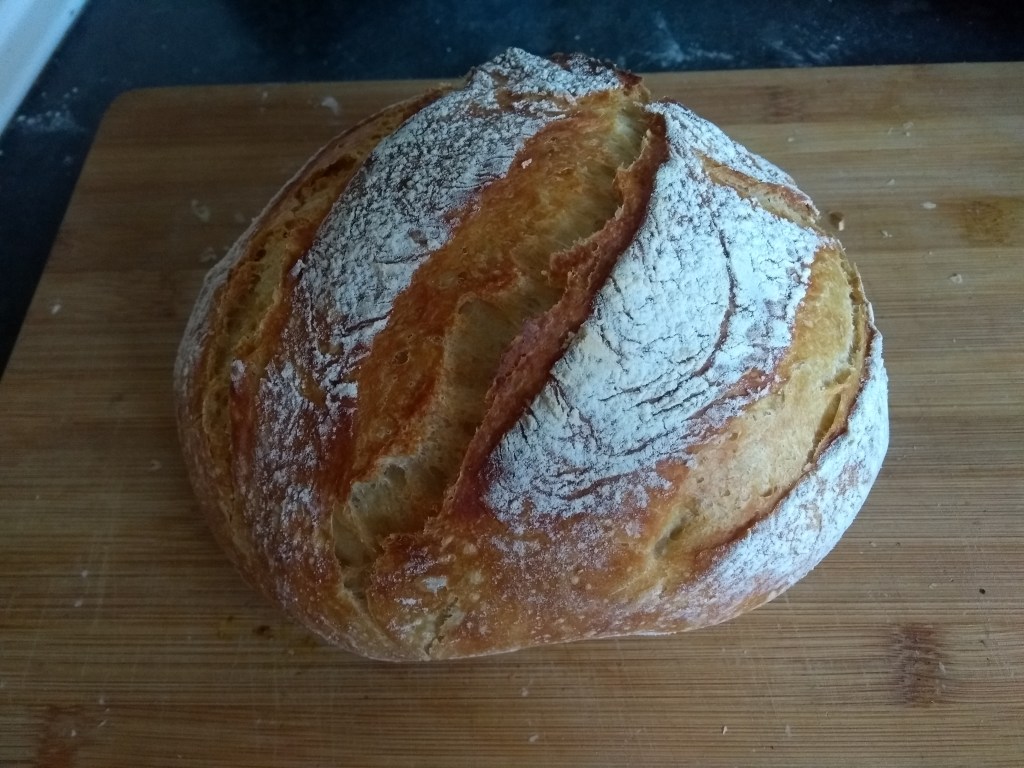
So when the lockdown came in, I finally had time to experiment freely, I could feed my starter and use it when it was primed and ready, not just when I got home from work. I made loaf after loaf all coming out tasting great and looking fine. But I realised what i should of realised a long time ago. It just wasn’t worth it. I started to go back to using yeast, and quickly started baking more and more with added vigor.
There are so many types of bread to make, but i had lost sight of that whilst chasing the sourdough dragon. I think a lot of the hype around sourdough is the magic of cultivating your own yeast and maintaining your starter (usually given a pet name) which you can mobilise at your will, confounding your friends and family with this little jar of witchcraft.
For the forseeable future, my starter (affectionately named Audrey) is frozen in time in the bottom drawer of my freezer.
Sourdough has had its time for me and for now, I’m having a lot more fun baking Brioche, Country loaves and Rye bread.
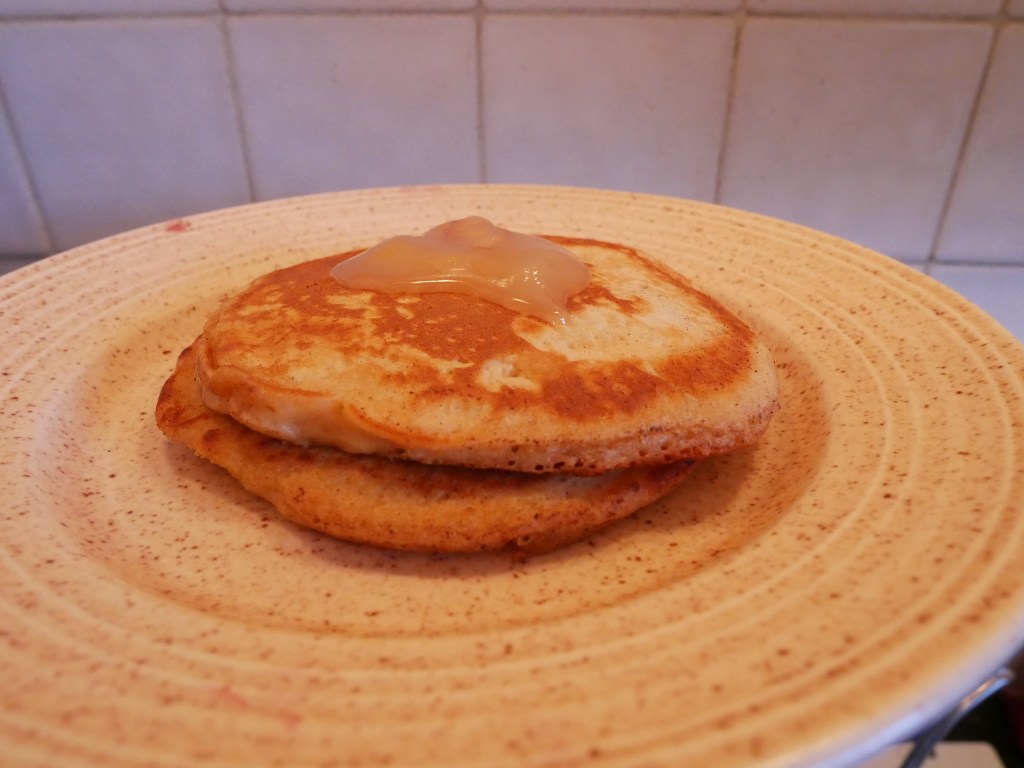
While watching Kiki’s Delivery Service, and seeing how Kiki goes to the local supermarché to buy food. She then starts to worry that she will have to live off pancakes for a while. I then suddenly decided to make some fluffy pancakes.
This again is stolen from the bbc food website (which i scaled down, because even i can’t stomach 4 peoples servings off pancakes not long after breakfast). It made around 3 thick medium size pancakes.
The batter is thicker than normal thin pancake batter, so it dosen’t spread out when you put it in the pan, meaning thick fluffy goodness.
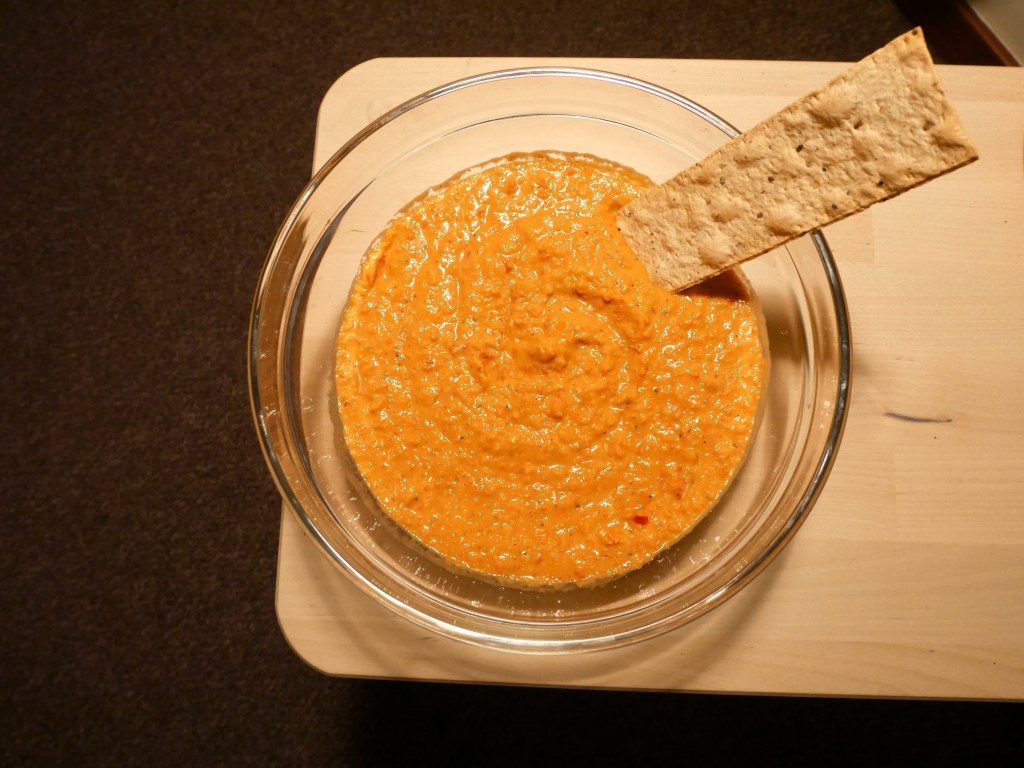
The first thing I’ve decided to post is my favorite hummus recipe. After deciding to set up a blog, I then realised that i wasn’t sure what to post first, an elaborate Beef Bourguignon? A picture of me frying an egg in a flowery apron and a big thumbs up?
So this recipe is very much stolen from the BBC food site, unfortunately i haven’t got an entire catalogue of recipes made up by me….yet. So i usually take recipes, do them over and over whilst tweaking or incorporating tips picked up from elsewhere.
This is an example post, originally published as part of Blogging University. Enroll in one of our ten programs, and start your blog right.
You’re going to publish a post today. Don’t worry about how your blog looks. Don’t worry if you haven’t given it a name yet, or you’re feeling overwhelmed. Just click the “New Post” button, and tell us why you’re here.
Why do this?
The post can be short or long, a personal intro to your life or a bloggy mission statement, a manifesto for the future or a simple outline of your the types of things you hope to publish.
To help you get started, here are a few questions:
You’re not locked into any of this; one of the wonderful things about blogs is how they constantly evolve as we learn, grow, and interact with one another — but it’s good to know where and why you started, and articulating your goals may just give you a few other post ideas.
Can’t think how to get started? Just write the first thing that pops into your head. Anne Lamott, author of a book on writing we love, says that you need to give yourself permission to write a “crappy first draft”. Anne makes a great point — just start writing, and worry about editing it later.
When you’re ready to publish, give your post three to five tags that describe your blog’s focus — writing, photography, fiction, parenting, food, cars, movies, sports, whatever. These tags will help others who care about your topics find you in the Reader. Make sure one of the tags is “zerotohero,” so other new bloggers can find you, too.
